The Barney Family – 2014

It’s been a great year for us here in the Barney house. One of our favorite things is to make goals, and most of the memorable moments of the year came from working towards these goals:

Goals #1: Kitchen update.

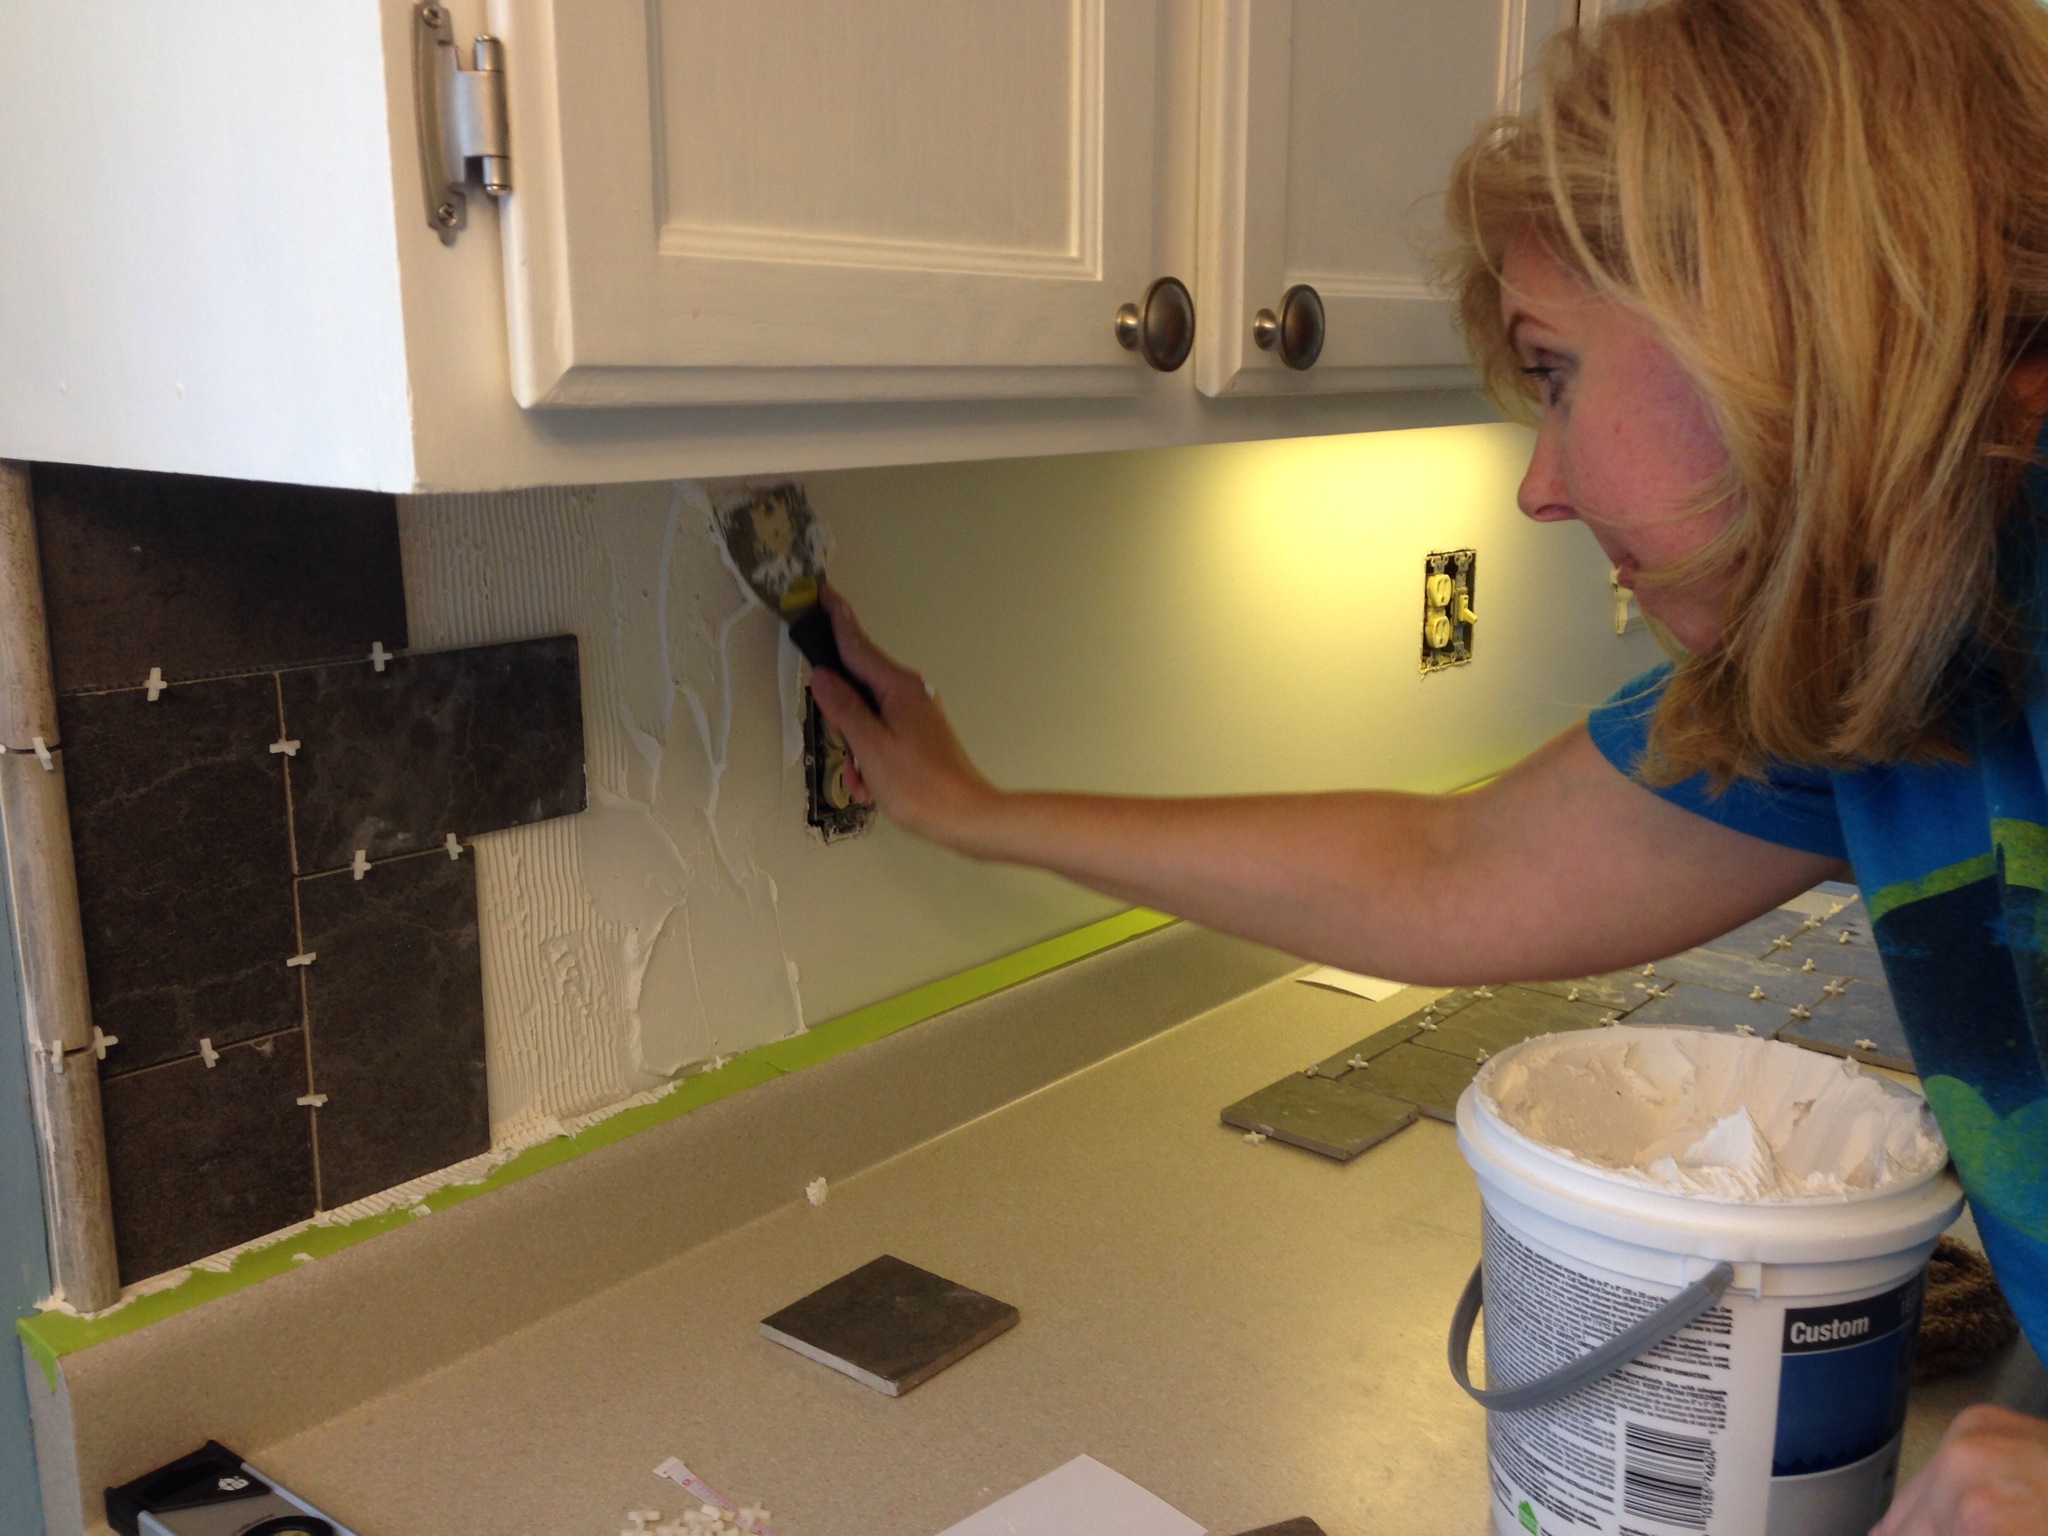
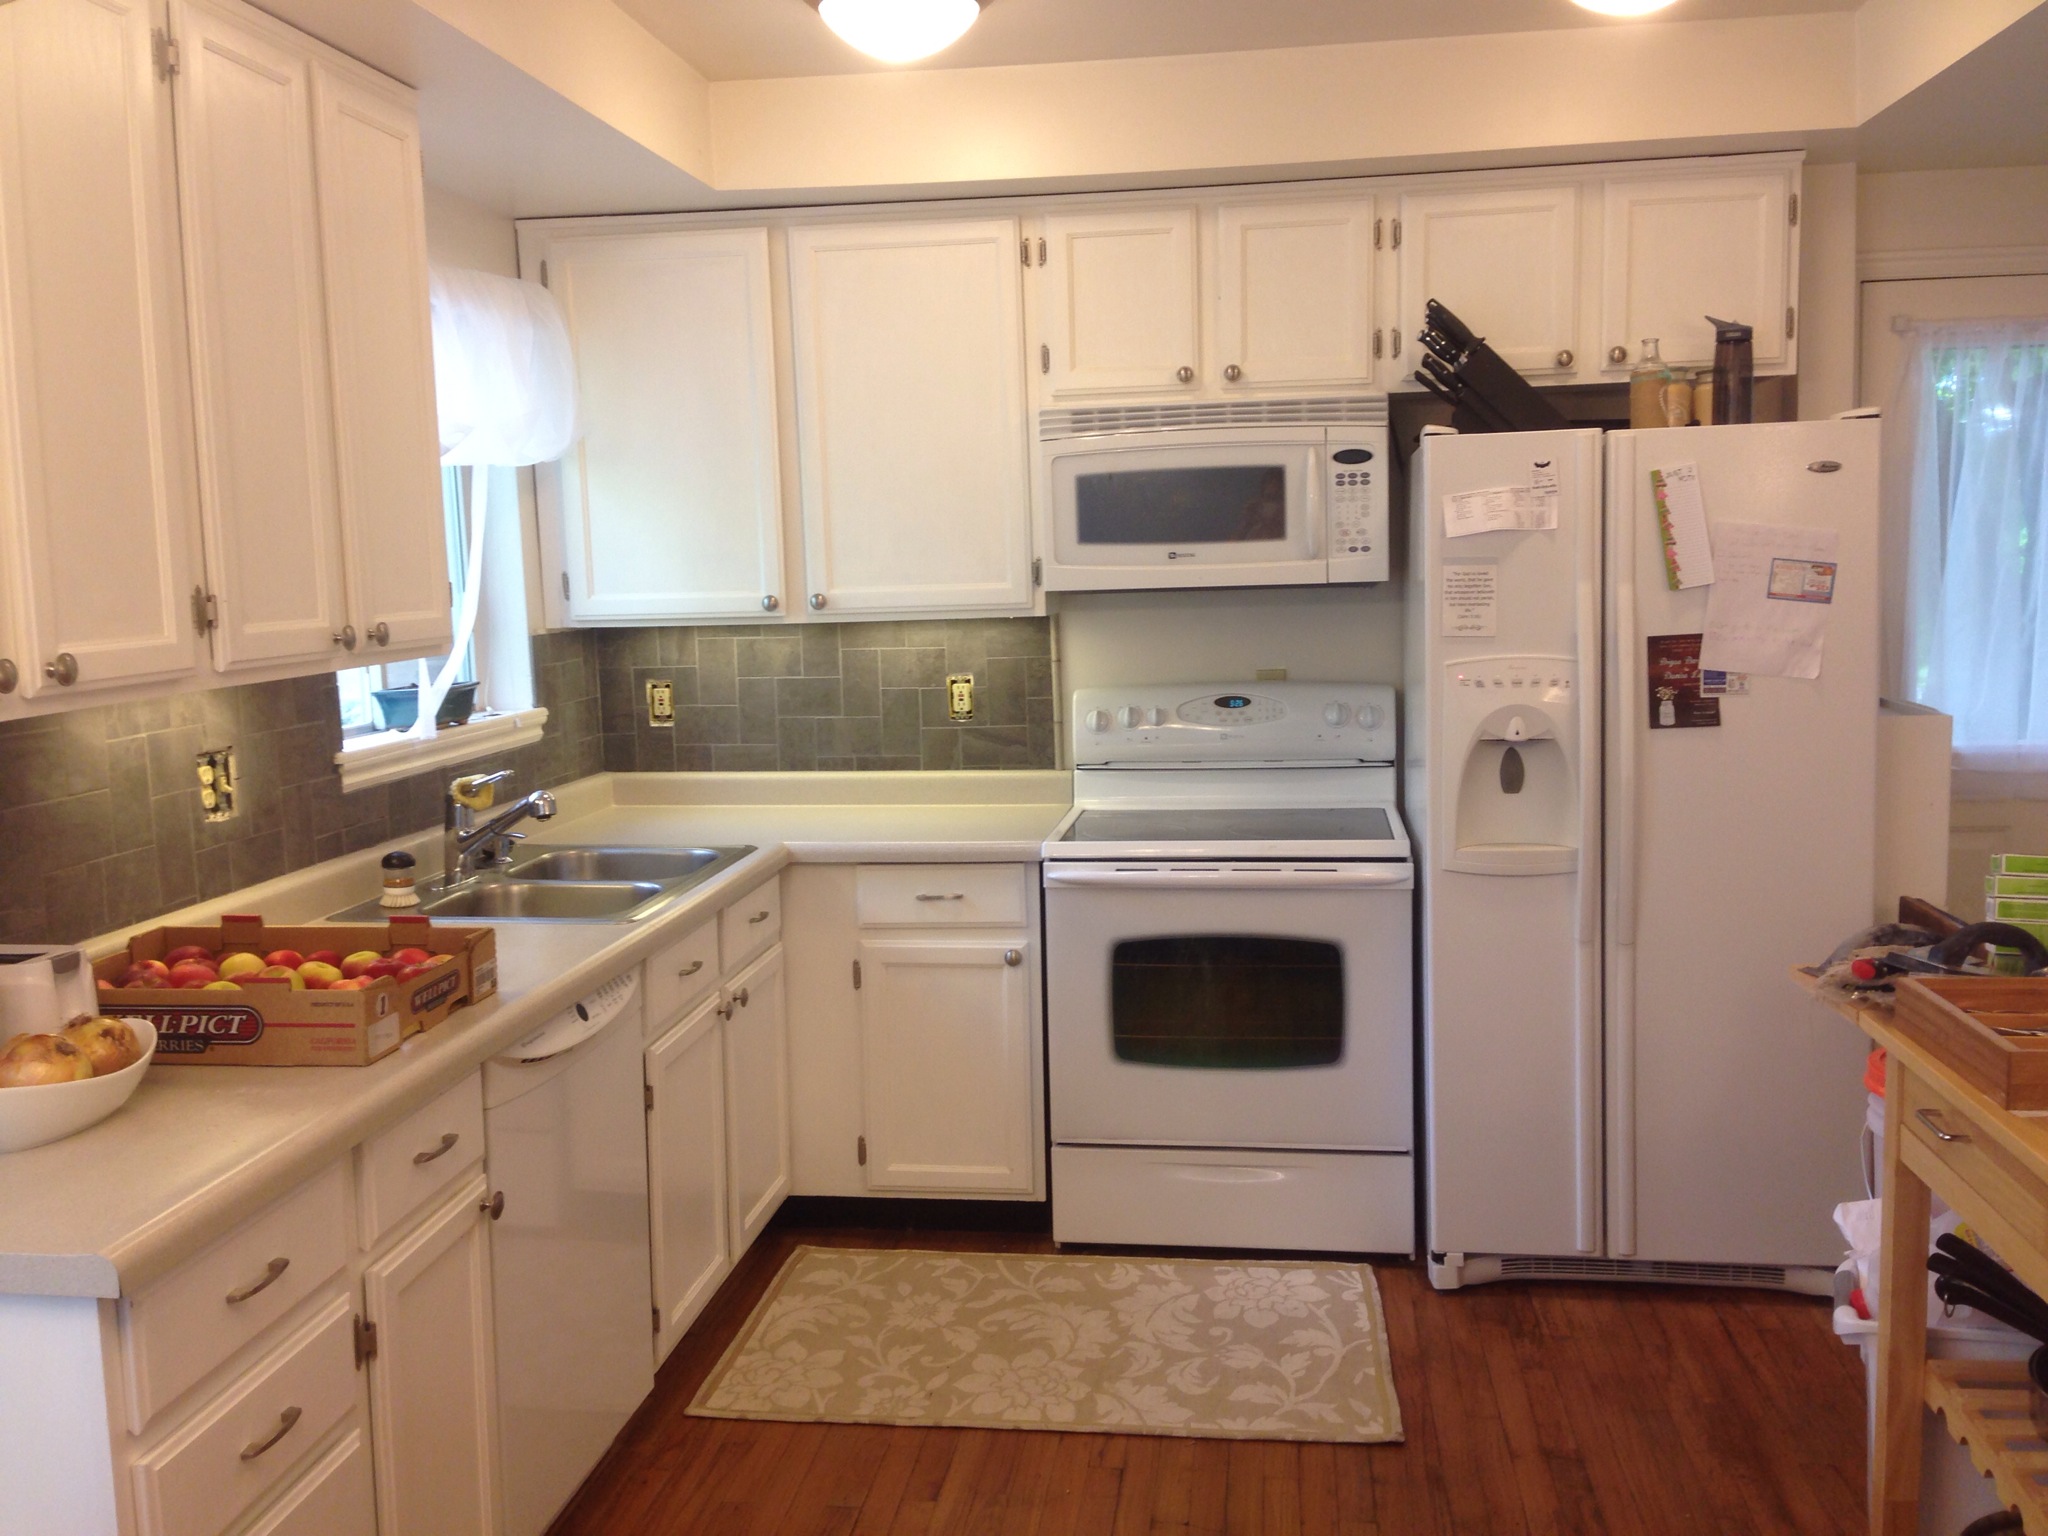
When we moved into our home last year the kitchen was hardly sufficient. There wasn’t enough space for a family-sized table, and everything was horribly outdated (except for the appliances, thank heaven).

20140424-212106.jpg

Kitchen - 2013

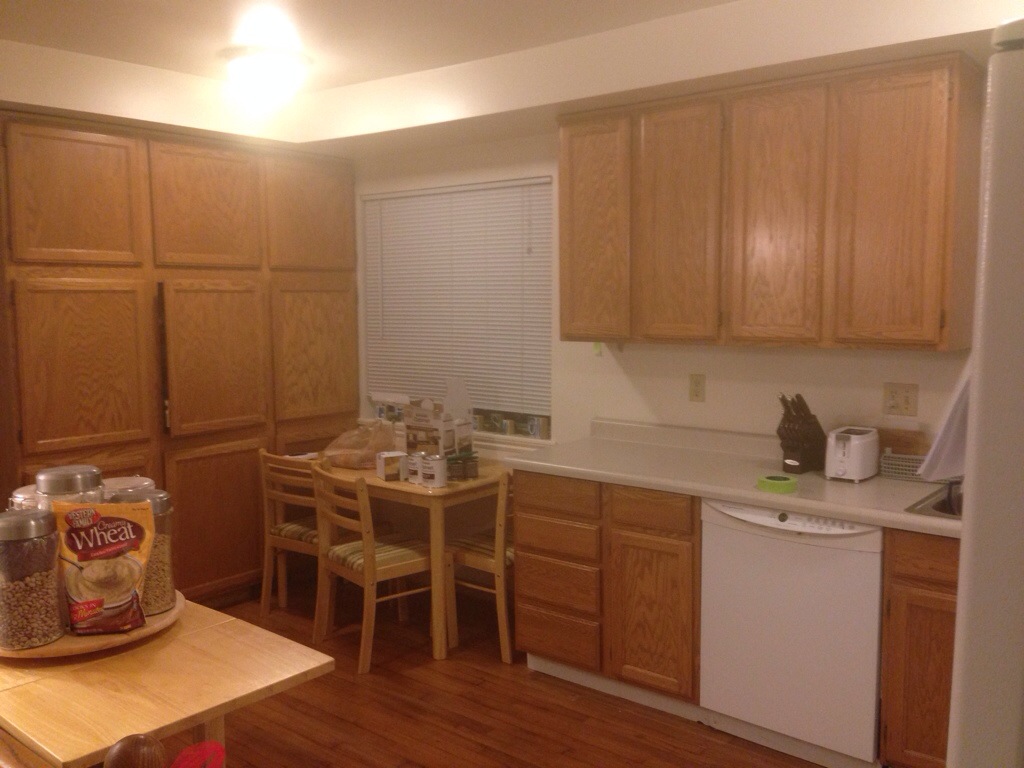
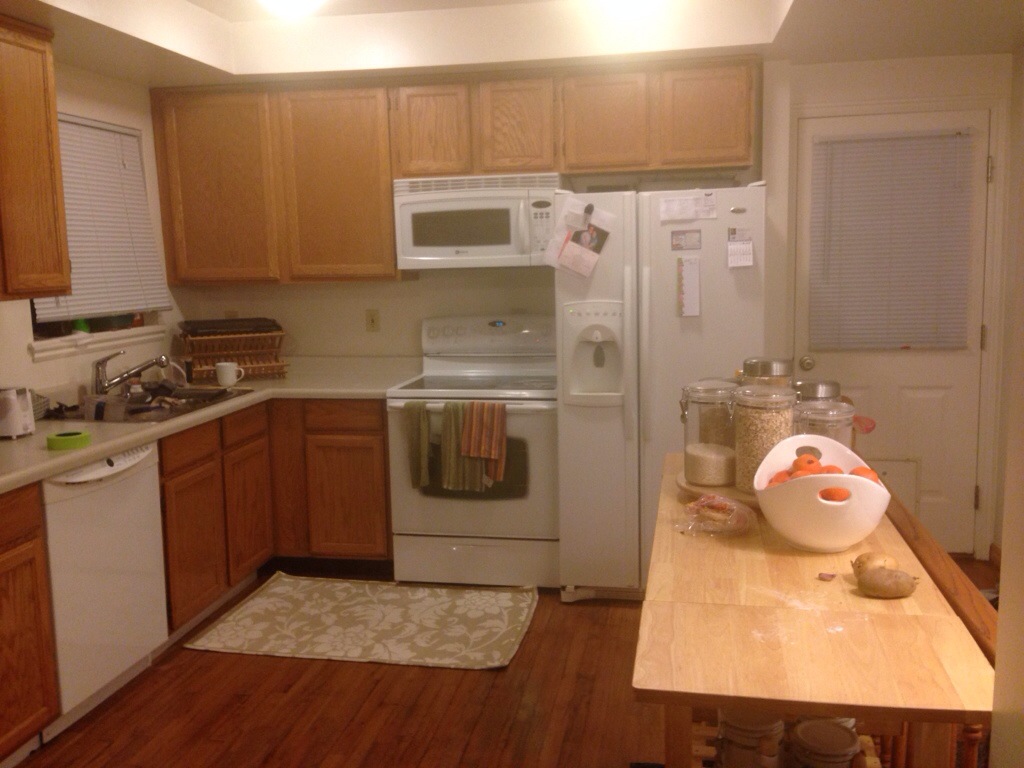
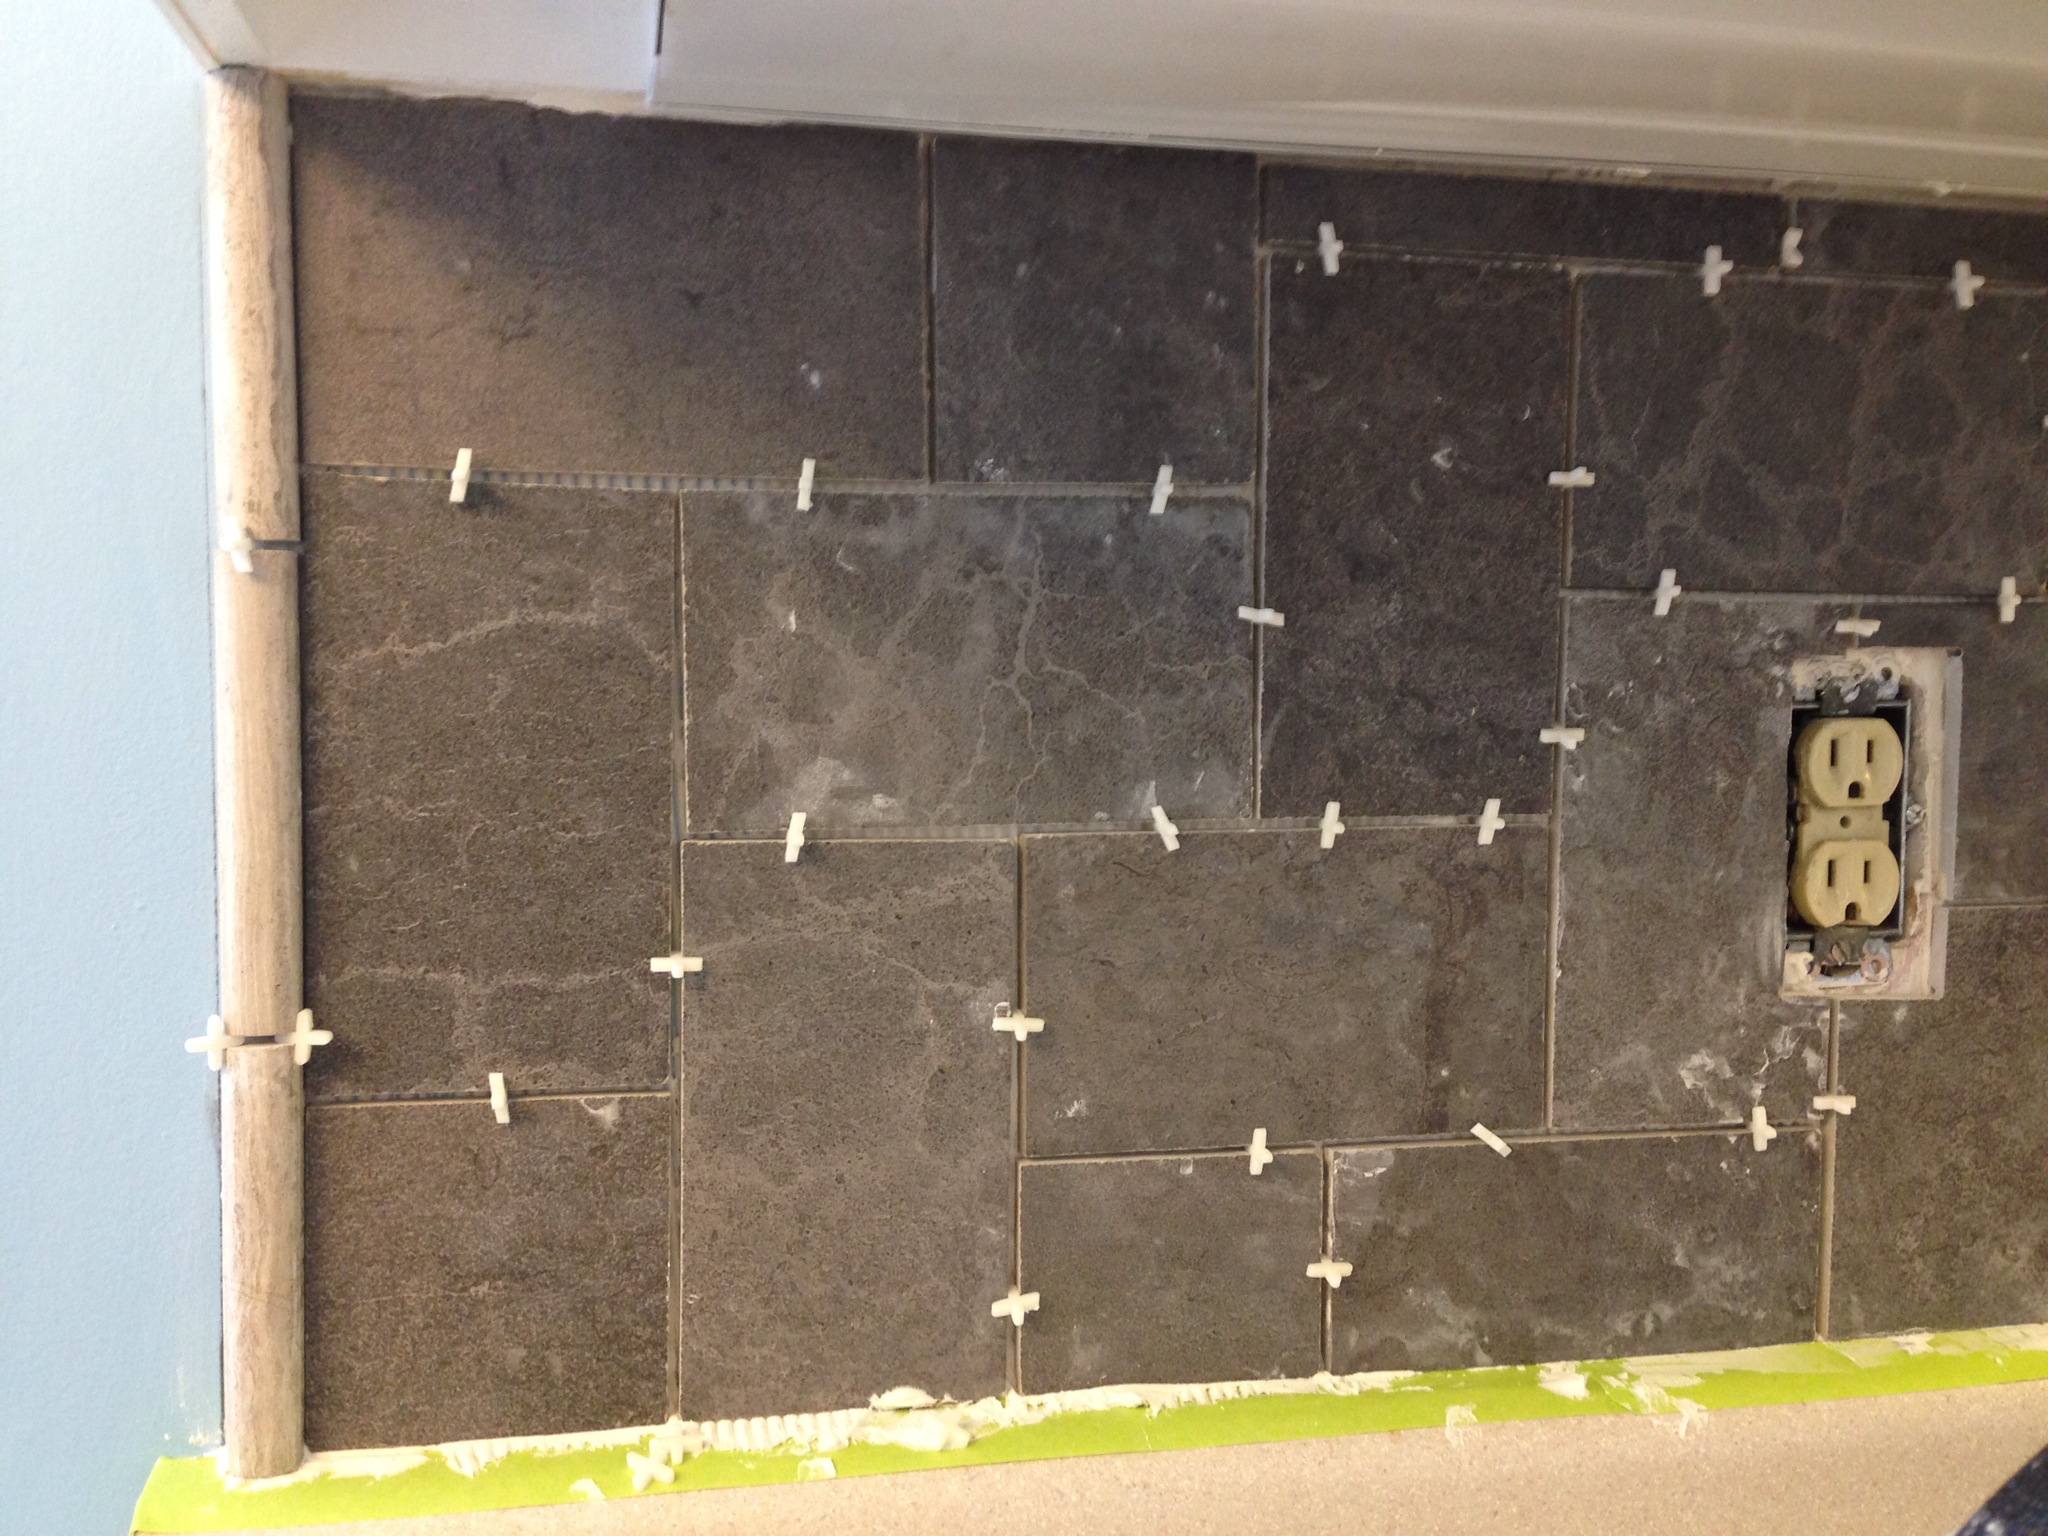
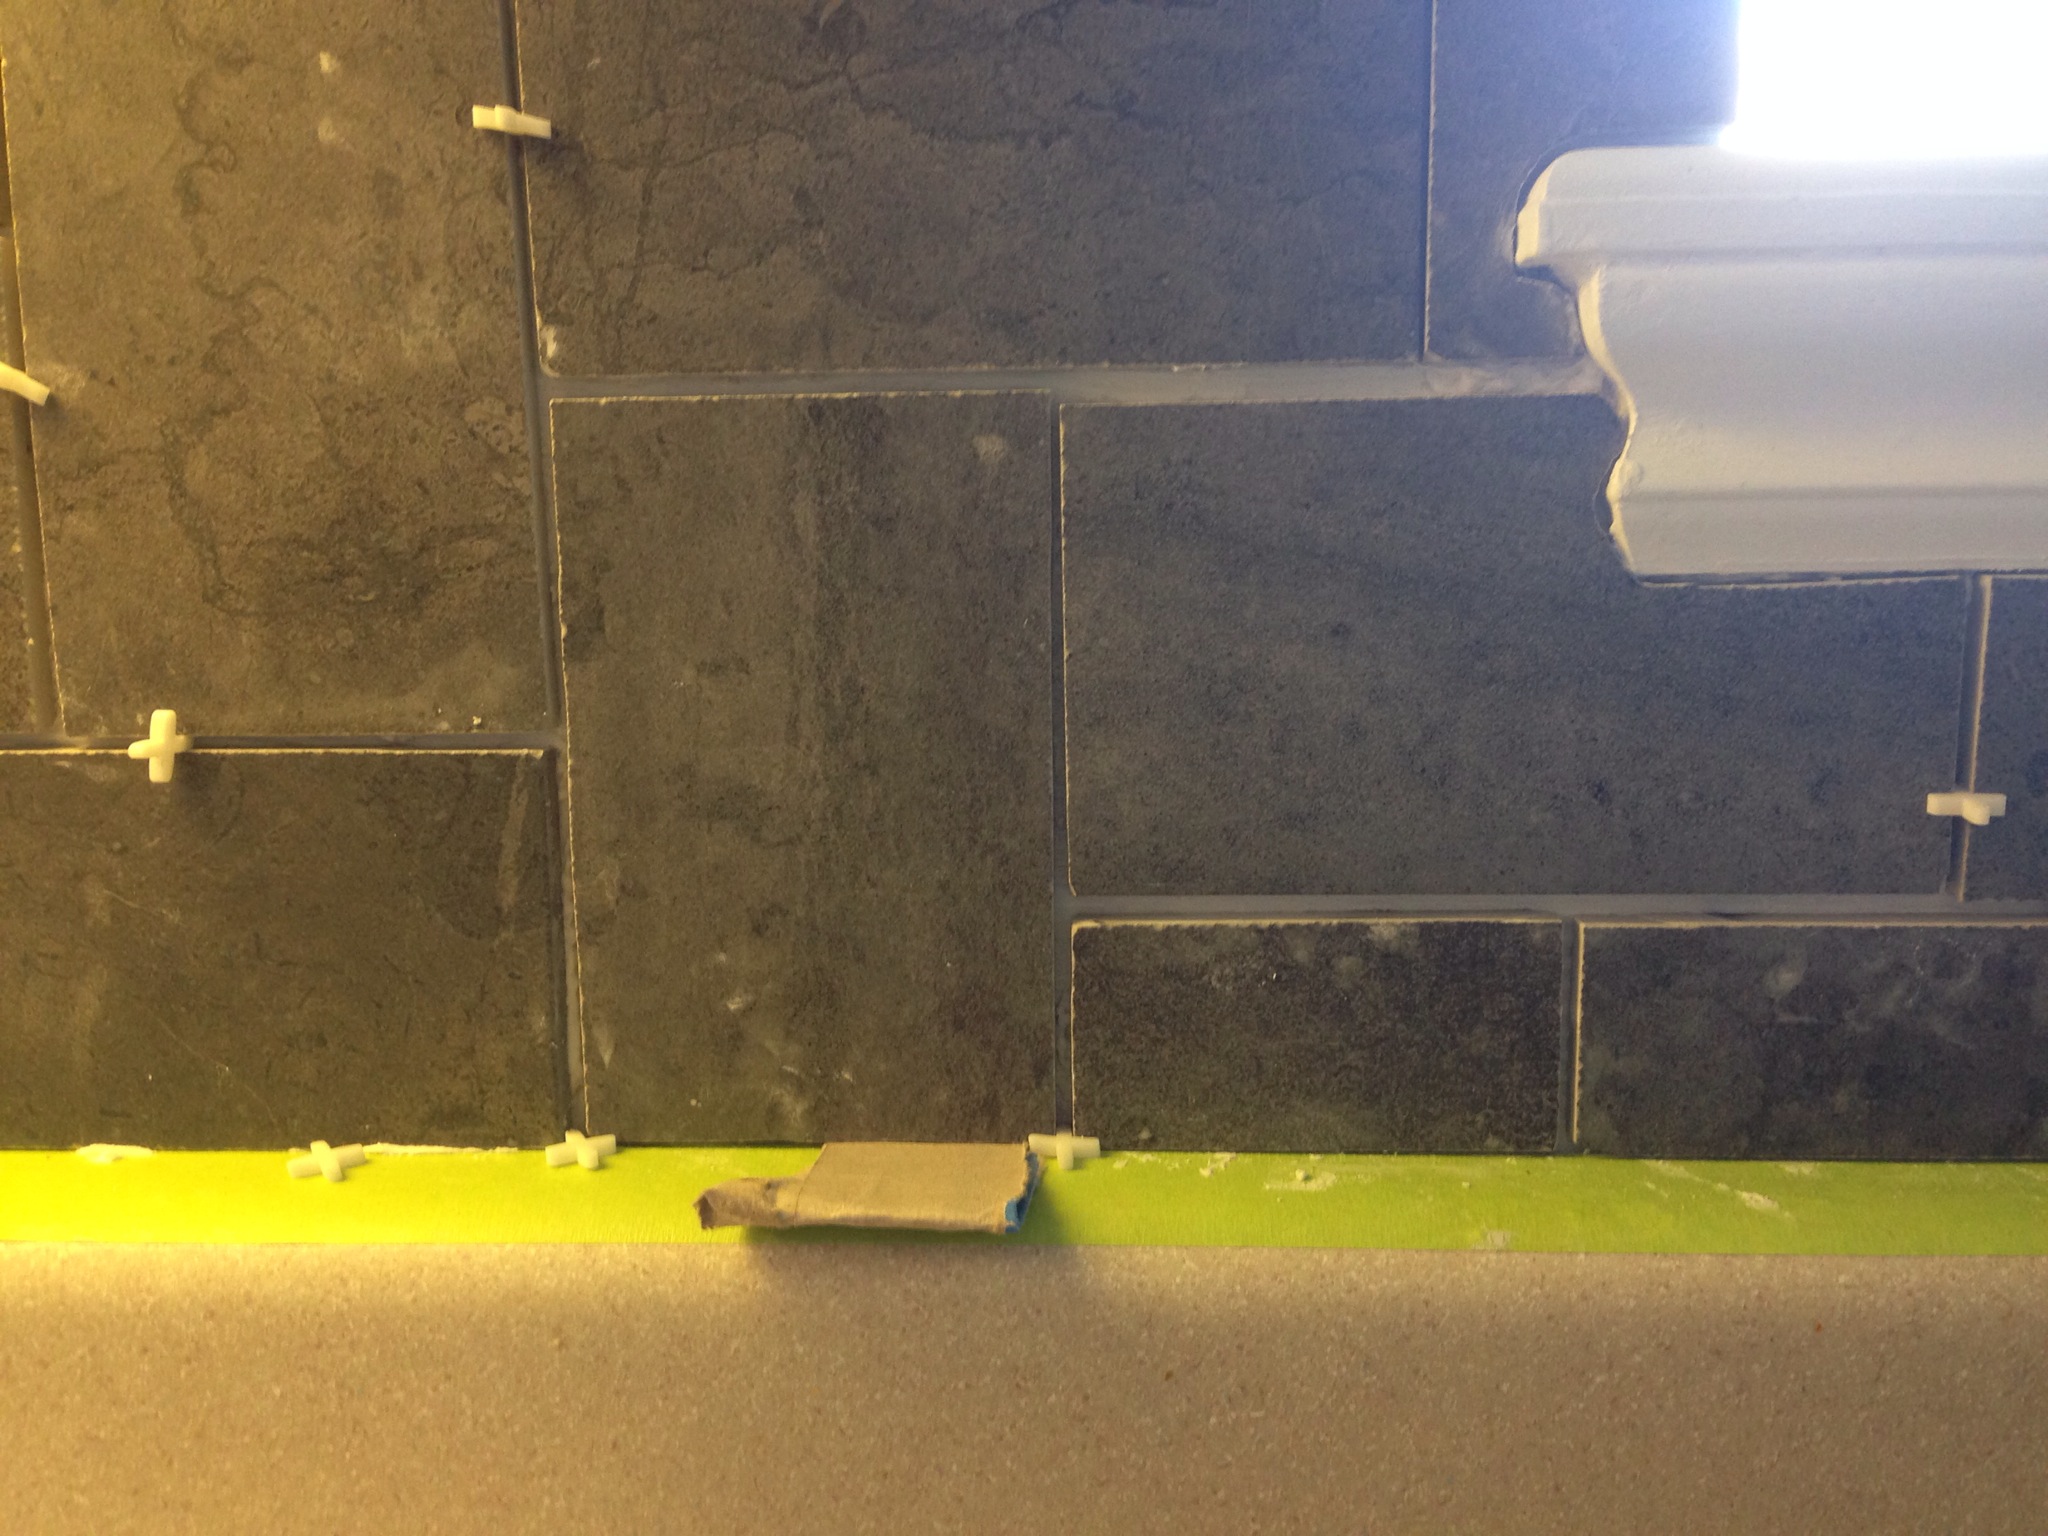
Right from the beginning of the year we were working on it: refinishing the cabinets, hanging a new light, building a banquet, making window shades, building a half-wall, putting in a back splash, and building a baby gate.

IMG_2091.JPG

IMG_1735[1]

IMG_2170[1]


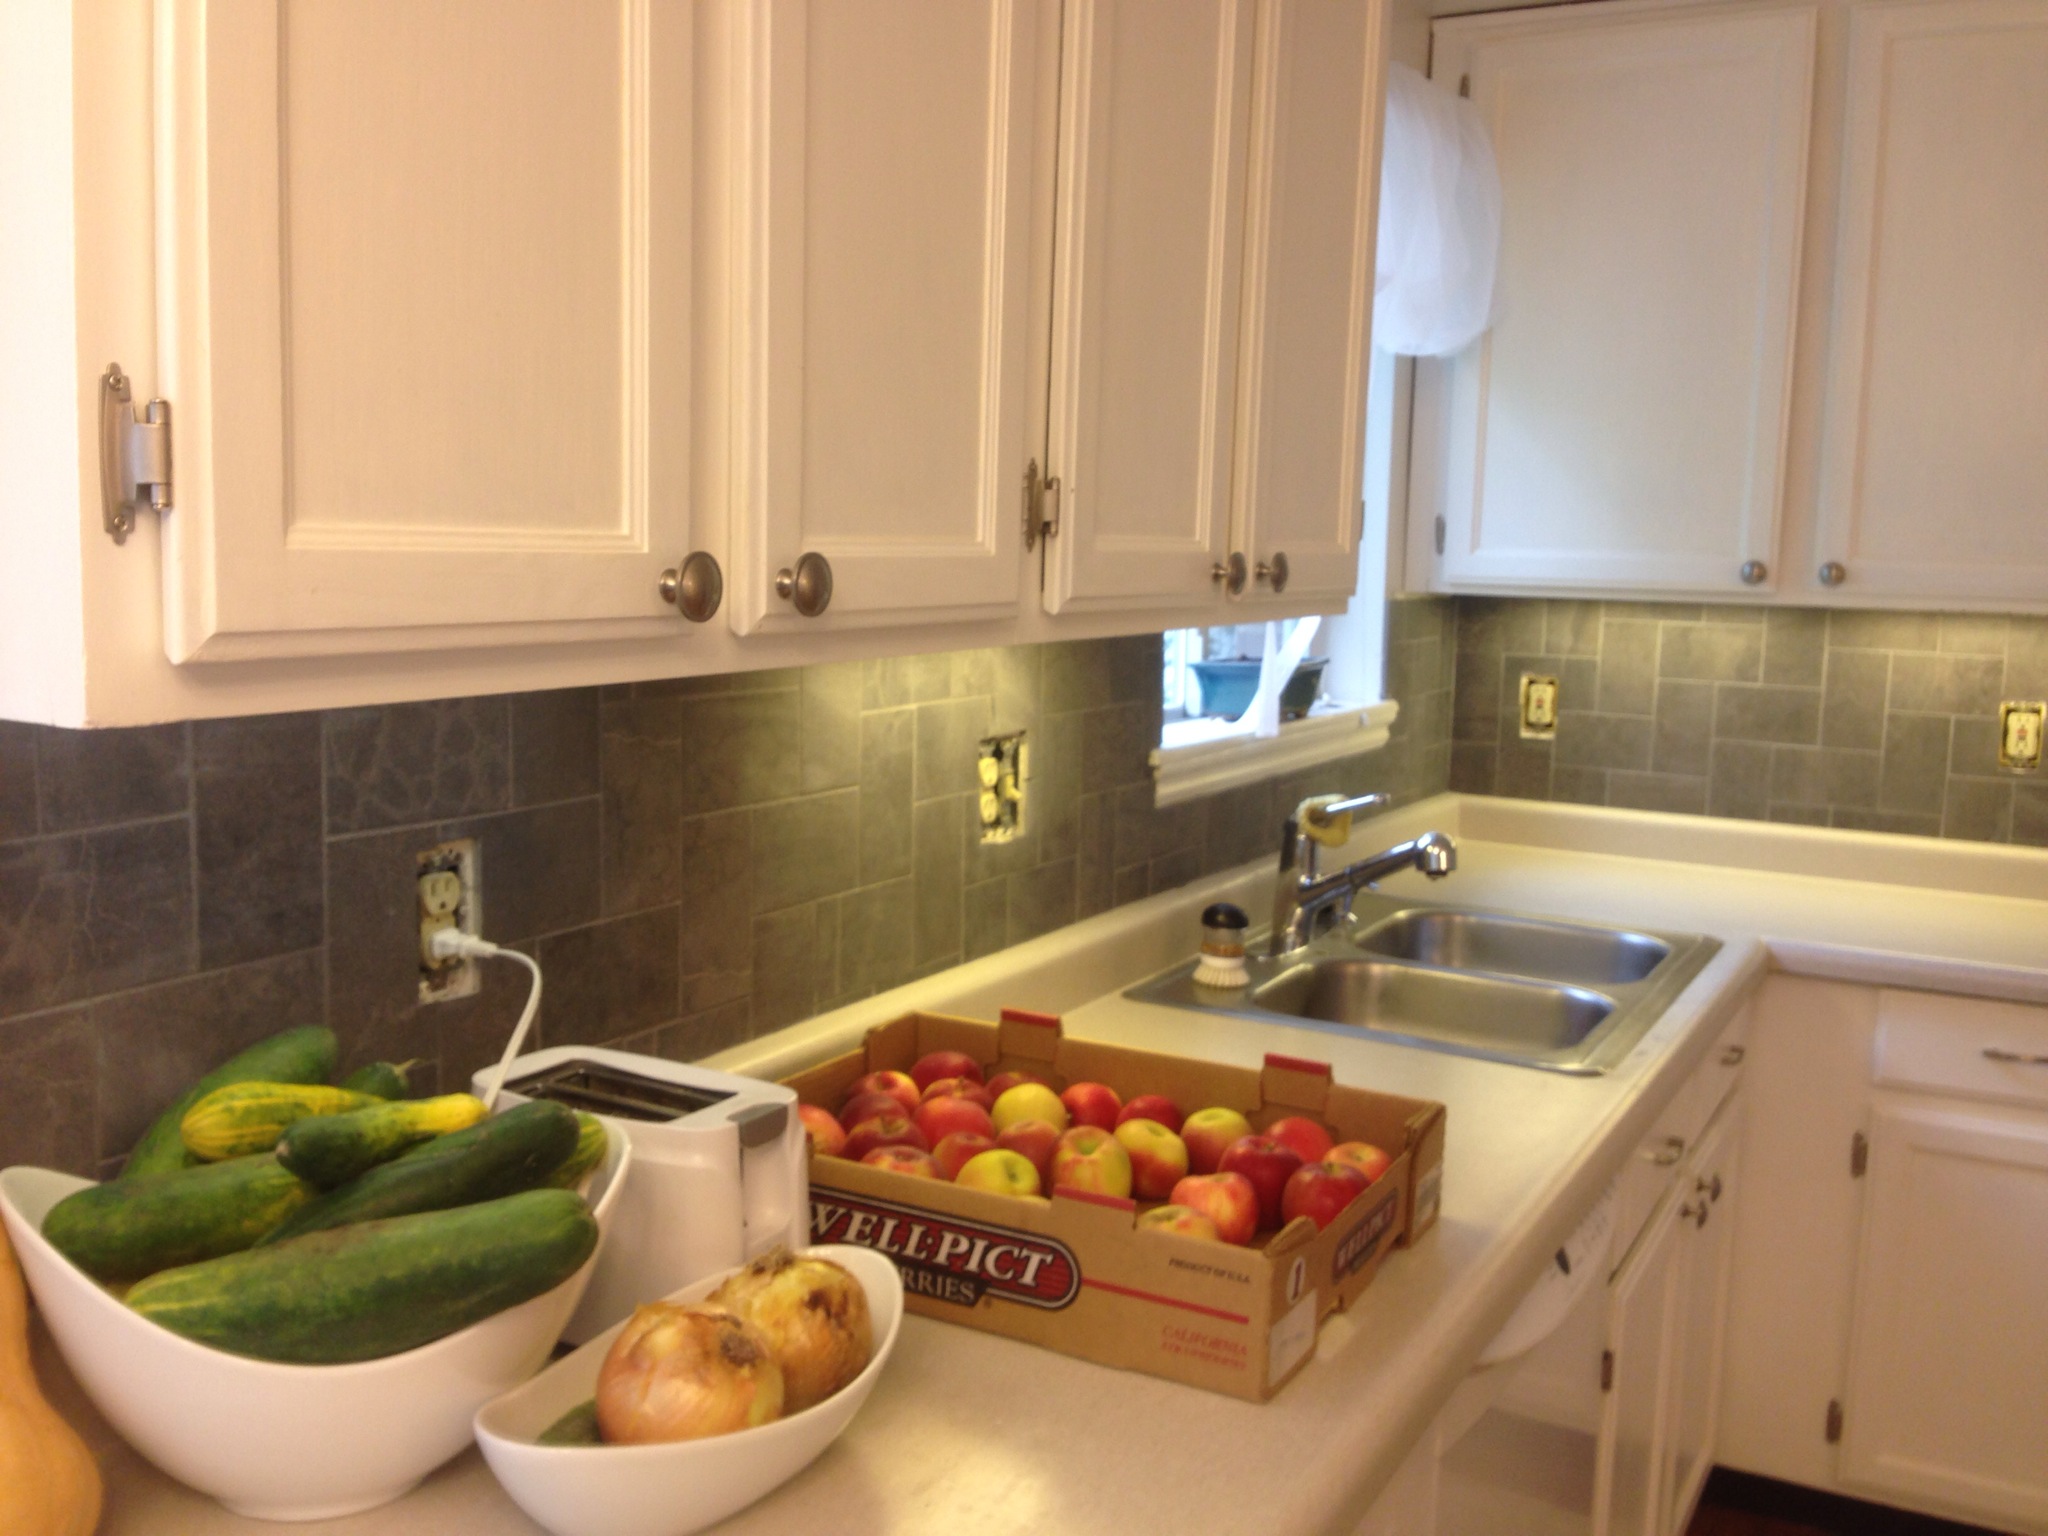
There is still a lot we need to do, but mostly just finishing touches. We have certainly opened up space we needed in the kitchen, and completed some essential baby proofing. Plus, it’s been really fun.

Goal #2: Gardening

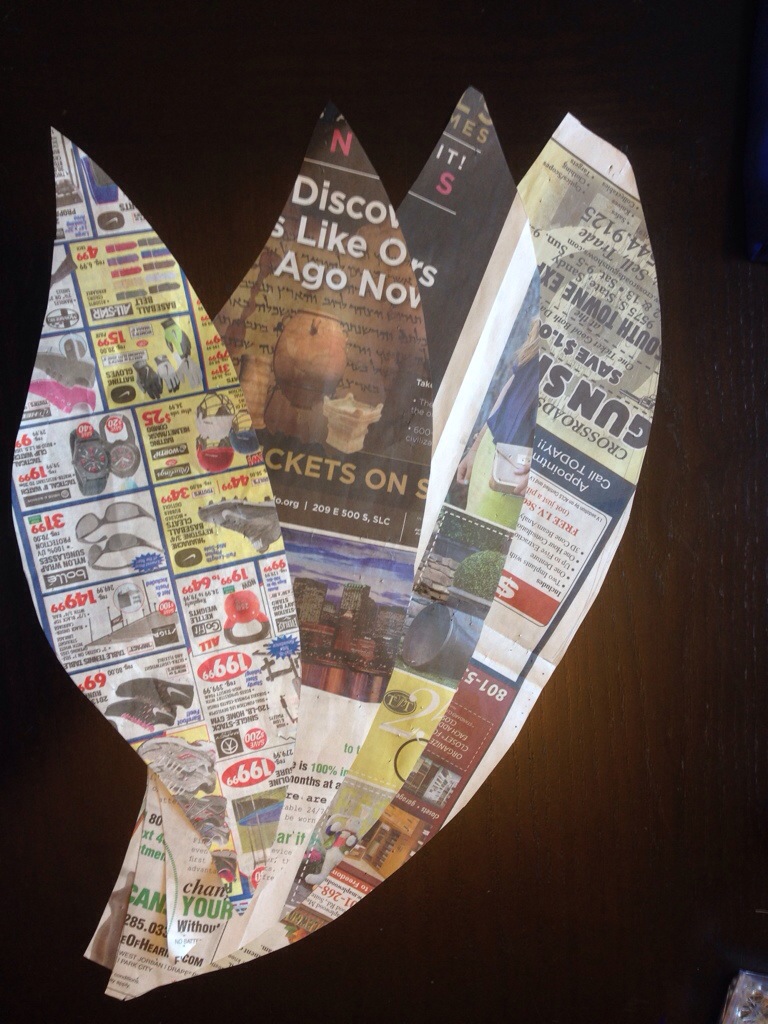
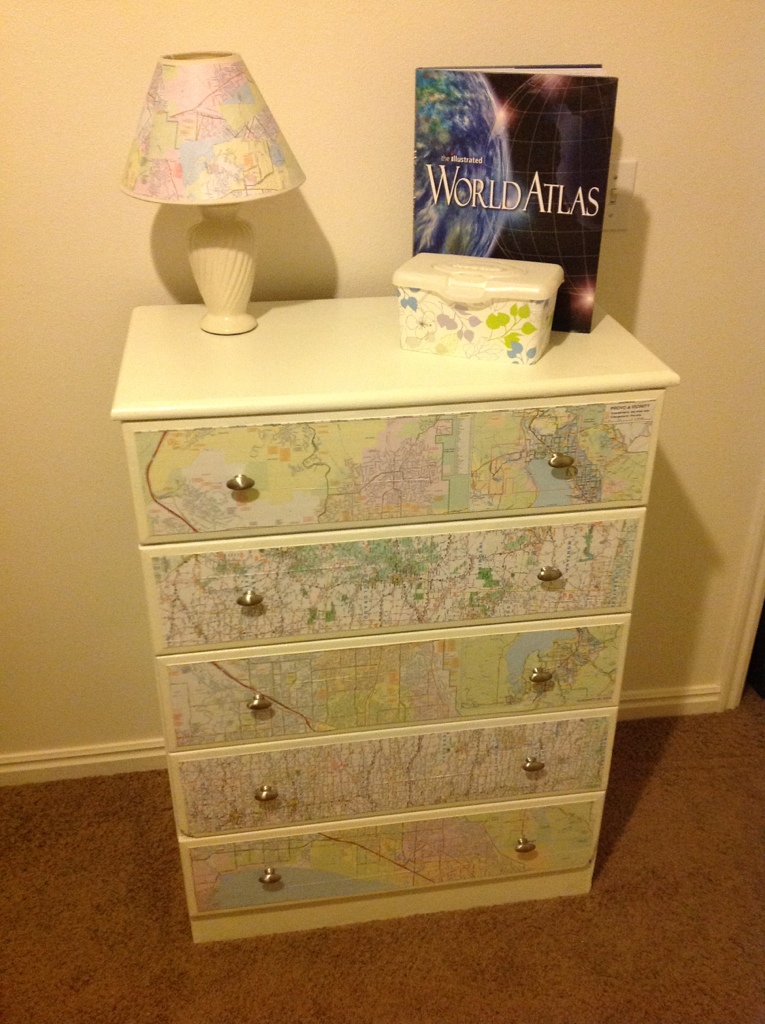
Kyle and I hadn’t ever had a garden of our own before. This year was our first shot at it.We grew a bunch of stuff, some of it from seed (you can see the starts on our kitchen table pictured above), some of it on our own land, most of it at a community garden plot.

IMG_1755[1]

IMG_1981[1]

IMG_1964[1]


IMG_2132[1]

Goal #3: Food Storage

An important part of gardening is learning how to store the extra food you’ve grown. This year I learned how to can apricots, jam, apple pie filling, and salsa, we also invested in a chest freezer and froze some fruits, vegetables, apple juice we had pressed, and jalapeno poppers. Aside from canning and freezing food, we also worked on building up to a year supply of essential items and food.

IMG_2105[1]
Our apple juice being pressed.
IMG_1982[1]
Salsa boiling down
Goal #4: Photography

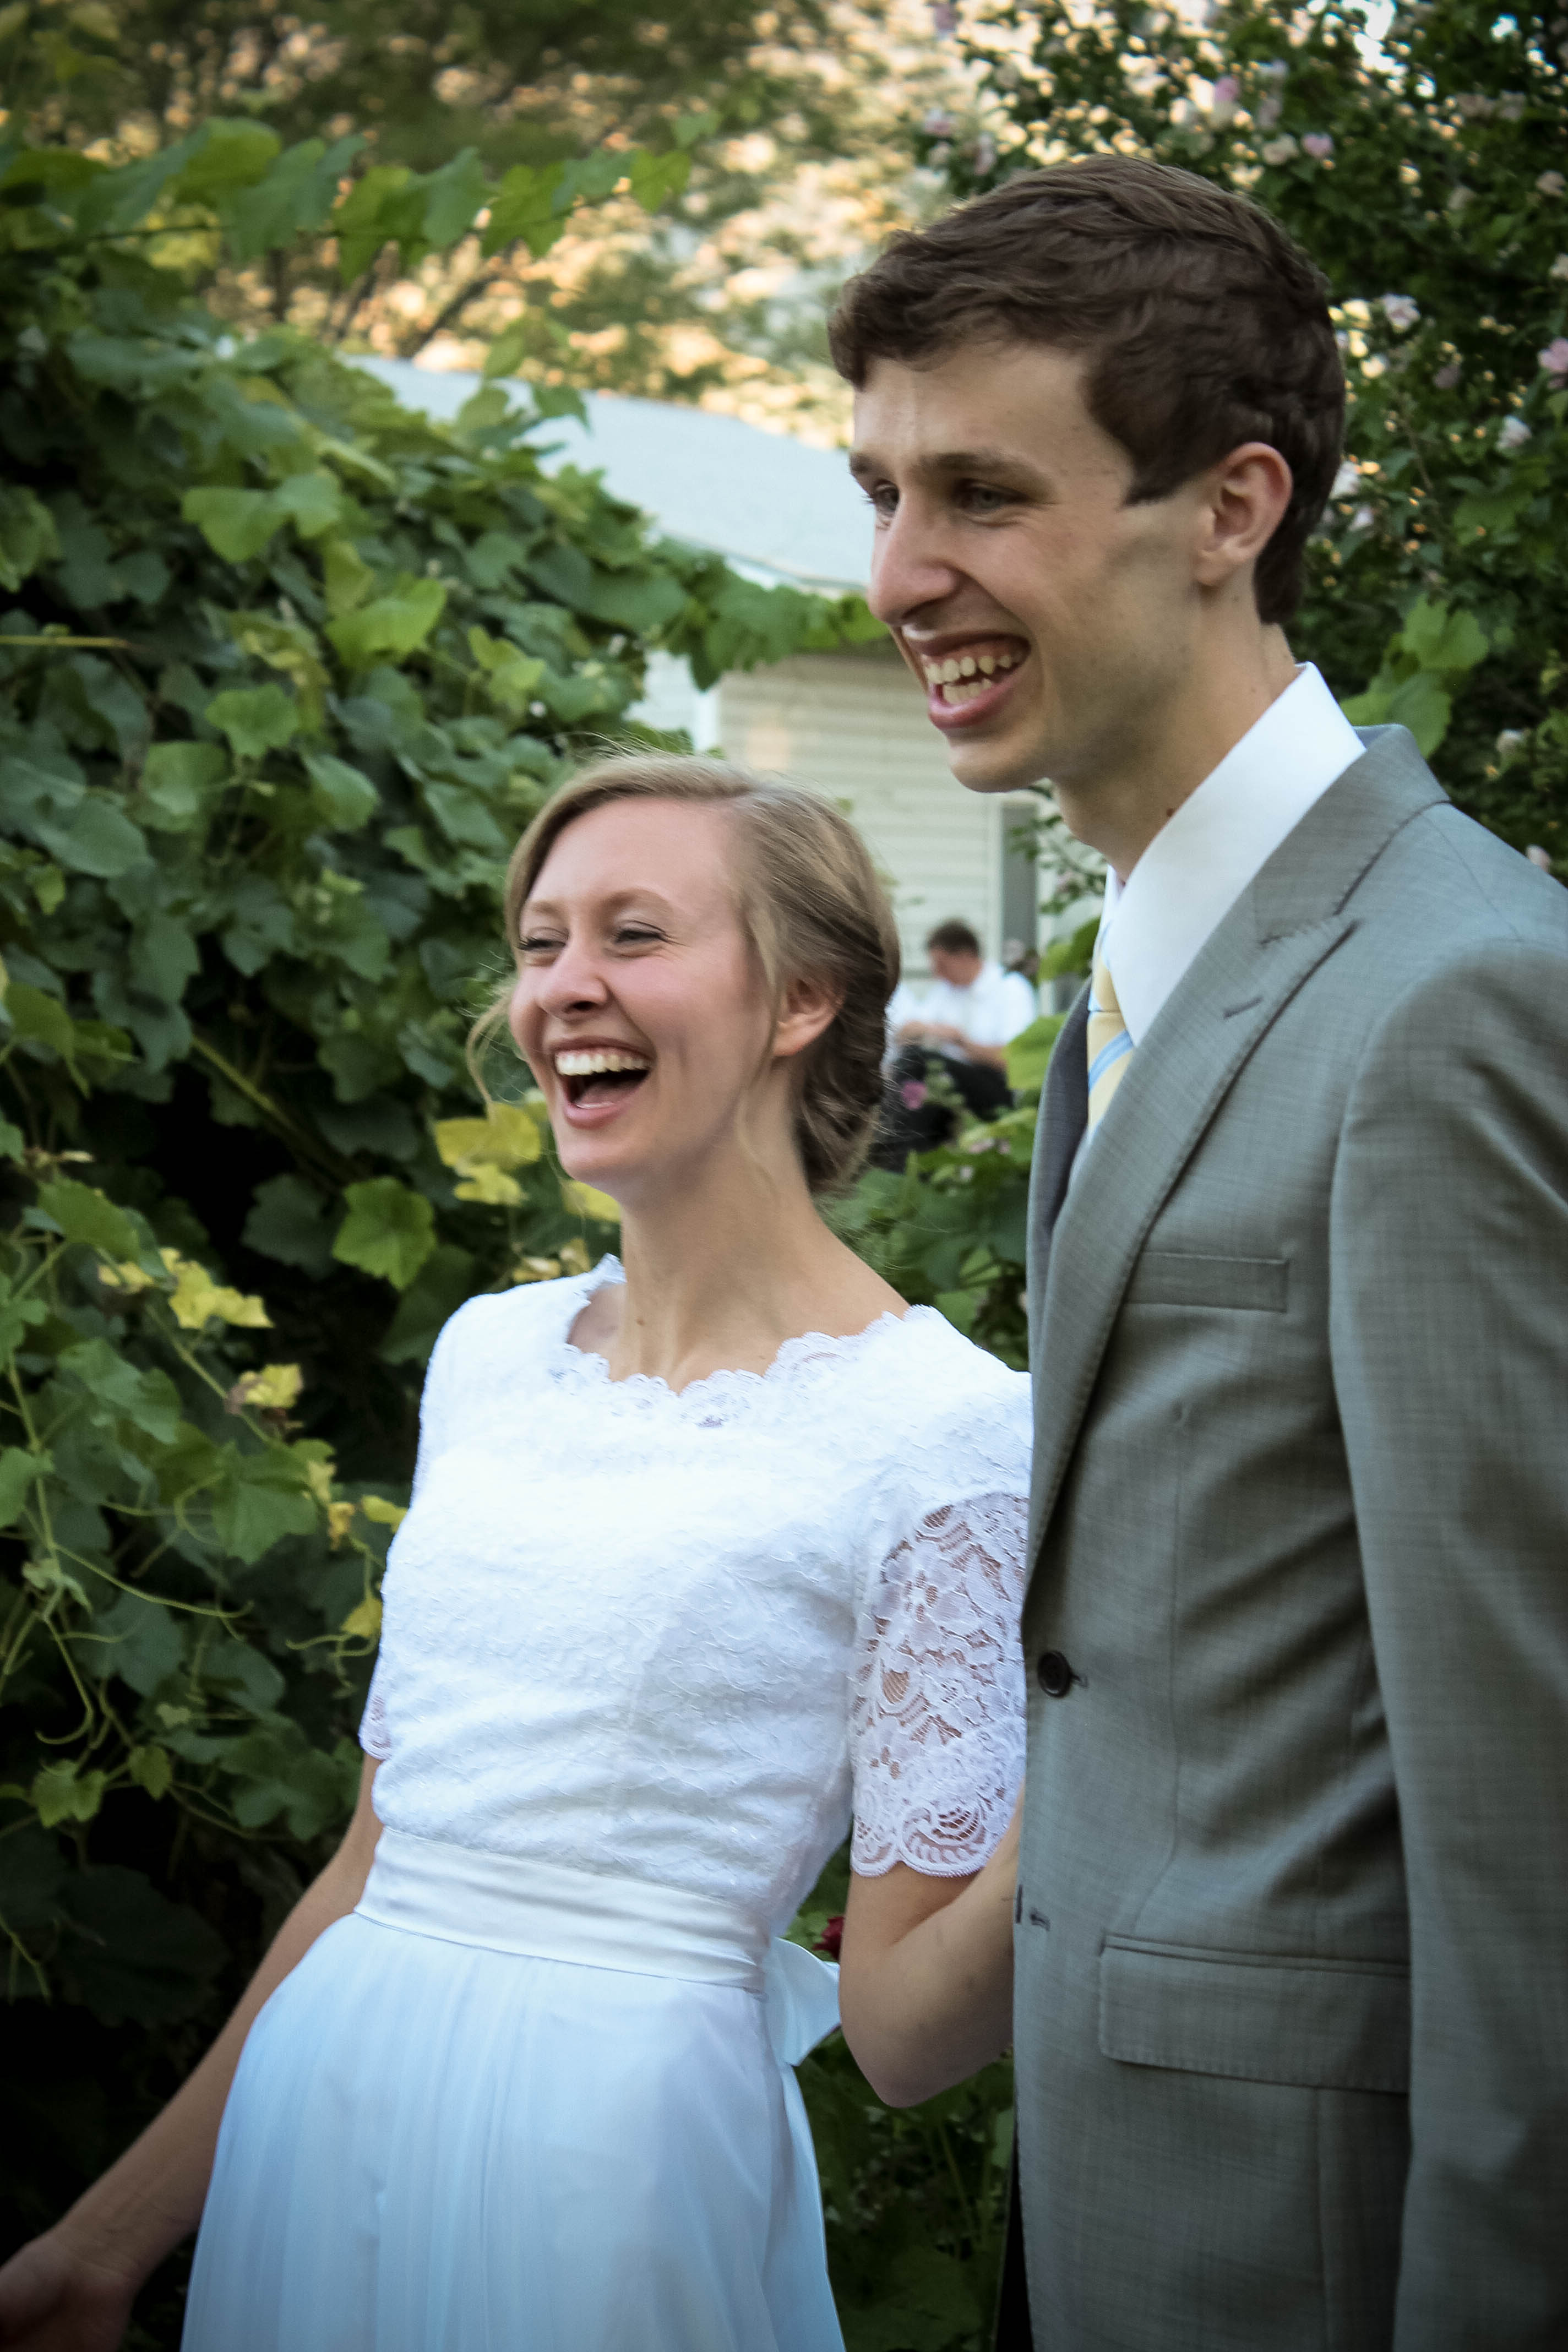
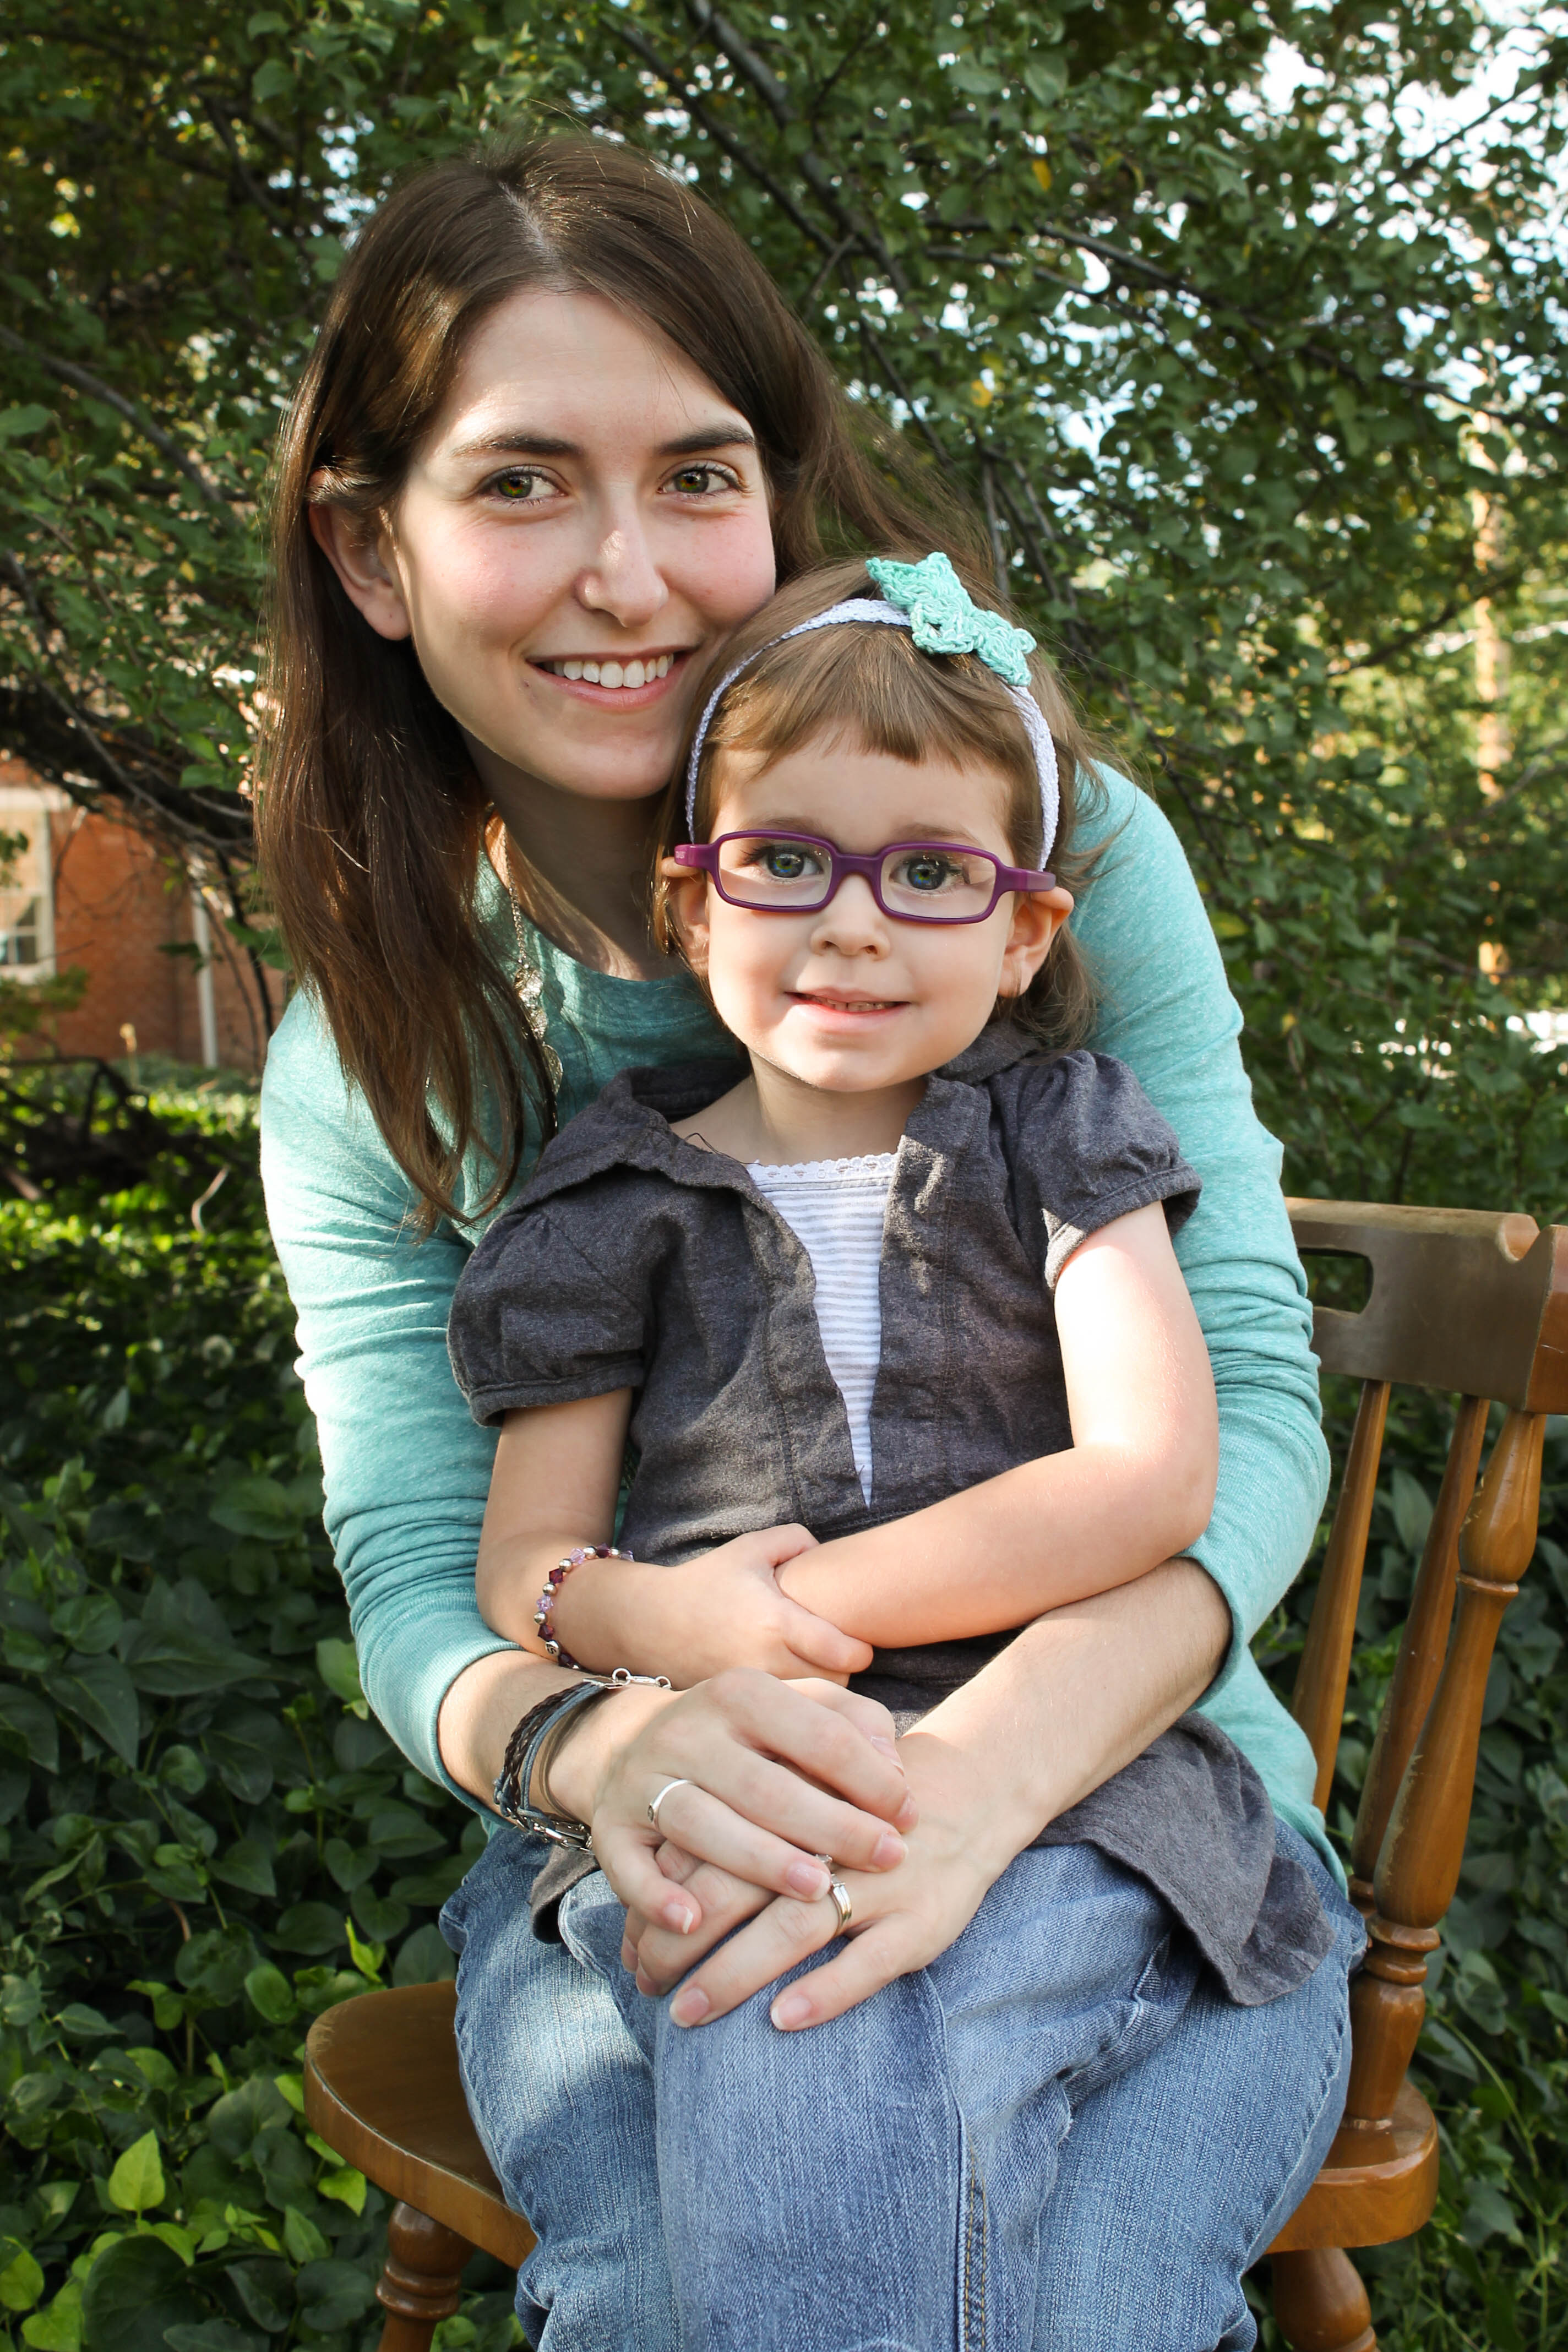
This one is a goal I’ve tackled on my own ever since Kyle got me a DSLR for my birthday. I’ve had a couple chances this year to work on my photography. For instance, my brother-in-law’s wedding

IMG_0659

… or my brother’s wedding

IMG_0813-2

or family pictures for relatives

IMG_1069

Goal #5: Read more

Kyle and I used to read A LOT more. Then missions and college happened, and it kinda’ stole the happiness out of reading. This year we wanted to get it back. I’m glad to report that we’ve read a whole bunch this year. The flame has definitely been reignited. Recommended reading from this year:

I Will Lead You Along: The Life of Henry B. Eyring – by Robert I. Eaton

A Tree Grows in Brooklyn – Betty Smith

My Story – by Elizabeth Smart

Little Women – by Louisa May Alcott

The Lincoln Hypothesis – by Timothy Ballard

The Race Beat – by Gene Roberts and Hank Kilbanoff

Beyond the Miracle Worker – by Kim E. Nielsen

… and then I caught up on some children’s fiction. I like to look out for good books to read out loud to my kids when they’re older.

Floors – by Patrick Carmen

Below – by Patrick Carmen

The Sisters Grimm – by Michael Buckley


Here’s to a new year! We hope to carry over all of these goals in 2015, and add a couple new ones. Do you have any good goals to recommend?


My $1,500 kitchen remodel (part 2)

The day has finally come! The backsplash is up, and all is good with the world.

We owe a lot of the accolades on this project to my mother-in-law and father-in-law, since they called and asked if we had a project they could come down and help us with. (I know! Who won the in-law lottery? Oh, me.)

I’d never laid tile before, and I was a little hesitant about kicking off the project.

IMG_2038.JPG
The start!

I laid out the tile in a pattern on the counter (herringbone. Ambitious, I know.) Kyle and his dad cut the tiles for the pattern, and Kyle’s mom helped me put down thin set, and place the tiles, until the baby woke up, then she was kind enough to babysit and run errands when we discovered we were out of things, like dinner, and lunch.

IMG_2041.JPG
First batch of tile up!

The award for most amazing bit of tile work goes to Todd, who cut the tile to go around the molding on our kitchen sink window. Blew my mind.

IMG_2044.JPG
Check out the tile cuts around the molding! Beautiful, no?

It took me almost a week after they left to grout the tiles, but I’m pretty sure we have the neighborhood’s most loved backsplash.


IMG_2088.JPG
oooooo. ahhhhhh.

We still have a ways to go, but its certainly coming along!
BEFORE:

20140424-212141.jpg
Befor

AFTER:


IMG_2091.JPG
After!

In total we spent about 90 dollars on tile, and about 50 dollars on everything else. To see more information about our previous kitchen updates, check out part 1.

DI dress update

My husband bought me a sewing machine! It’s one of the things on my short list of “need/wants” that I hadn’t been able to purchase since our wedding because of tuition. SO, how better to break in a new machine than to make up a new pattern and make an old dress new? I found a real beauty at the DI (a local second-hand store.)

20140602-165319-60799338.jpg

I liked how it fit. I liked the material. I LOVED the ombre from dark purple to bright blue:

20140602-165322-60802045.jpg

The only thing about the dress that I didn’t love was it’s lack of sleeves. I don’t wear sleeveless clothing. So, I found a tutorial on Pinterest for “flutter sleeves” which seemed like it could be altered to look quite at home on this dress. It required a pattern for bell-shaped sleeves that stack in layers, each layer one inch shorter than the last.

20140602-211407-76447017.jpg

20140602-165318-60798479.jpg

20140602-165317-60797635.jpg

20140602-165316-60796780.jpg

It turned out pretty well for a first project!

20140602-213849-77929820.jpg


My $1500 Kitchen Remodel (part 1)

When Kyle and I purchased our first home, it wasn’t perfect. Of course it wasn’t. But there were plenty of lovely and charming things about it. Unfortunately, the kitchen was not one of those lovely enchantments. It was intended to be an eat-in, but the only place for a table of any significant size was right next to the railing guarding the stairs. In my mind’s eye I could just picture small children hurtling over the edge in the middle of dinner. Continue reading “My $1500 Kitchen Remodel (part 1)”

DIY Nursery

Decorating has never been one of my strengths… That may seem strange to some because I’m a graphic designer, but trust me, decorating a room and decorating an interface are two vastly different things. Being addicted to Pinterest, however, and seeing a million clever nursery themes and DIY projects put me in a decorating mood.

As always, I knew I didn’t want to spend much money. I also knew I didn’t want to use a childish theme even though it was for a child. I wanted something inspiring and appealing for me, so trucks and dinosaurs were out. After all, the baby won’t care in the slightest what his nursery looks like. I’m the one who will be hanging out in there, changing diapers and whatnot. After thinking about it for a while I decided to decorate the nursery in maps.

One advantage to this plan was that we already had an enormous world map that my husband and I both love. I also found a cool dresser on Pinterest with maps mod podged to the drawers, and I thought I could pull off something simple like that.

So the first piece we tackled was the dresser. We found one for seven bucks at a salvage yard with my in-laws. It was DIRTY and even though it was made of pressboard, it had been stained instead of painted, so the sucker needed a lot of work. (who stains pressboard?) this is how it looked when we found it:

photo 2

My husband, his dad, and his brother spray-painted it white and my mother-in-law and I touched it up with some craft paint. Then we somehow fit it into the backseat of our car to take the lovely lady home with us.

It probably sat around our apartment for a good month or two before I finally got around to the mod podge excursion and put on the new hardware, but once we had finished everything I was pretty happy with it. I decided I wanted a little lamp for the nursery as well, so I picked one up at DI for 4 bucks and mod podged maps on the shade so it would match the dresser. Not bad for less than 20 bucks, eh?

20130723-160845.jpg


I wanted a chair for nursing in so Kyle and I looked in every furniture store we could find, but neither of us could bring ourselves to fork over 400 some odd dollars for a new one. Luckily, after a few days of watching KSL classifieds online I found a reclining, swiveling, rocking chair for $45. It needed to be cleaned and it had some very tiny threadbare patches, but after a thorough going over with baby wipes and permanent marker you’d never know.


20130726-211525.jpg

Strangely, Our baby never actually used this room. Since he was on oxygen for the first month of his life, we were both tethered to the master bedroom, and we bought a house and moved out before kicking him out of our space. But, as an exercise in decorating, I’d say it was successful!

Upscaled Upholstery

Upscaled Upholstery

Kyle and I have a long history of trying to find good, productive hobbies to do together. They usually start off with Kyle getting an itch to try something out. Like the time he decided we ought to learn the art of calligraphy, or the time he decided to become a master artisan bread chef…

The tricky thing is, sometimes these spur of the moment hankerings my husband gets occasionally lead to life-changing talents, like the time he decided to learn Chinese, or the time he talked me into enrolling with him in Karate for the summer. And then sometimes they turn out to just cost us money and give us little in return, like the time he got his heart set on starting a business. So on one hand I do my best to temper his impulses if I feel they are too outrageous or expensive. On the other hand I hate to kill his enthusiasm. It’s one of my favorite traits of his.

Anyhow, this summer Kyle decided we should try our hand at upholstery, so we got some library books and looked up some DIY  blogs to see what we could learn. After a few days of research we picked a project we thought we could handle and Kyle hit the classifieds, searching for our first furniture victims. After driving all over Salt Lake valley he came home with these lovely ladies:

Ugly chairs
Our newly acquired chairs, ready for a little lovin’

As you can see, they needed some help. They had some broken pieces, at least one was a little unsteady on its feet, and the colors could slap you in the face from a mile away. Plus, several had been upholstered in picnic tablecloth fabric. Yuck. They didn’t get finished right away. They did get sanded right away, though, and took up residence in our kitchen.

recently sanded chairs
The dismantled and sanded chairs, residing in our garage/kitchen.

However, after a couple of weeks my man came through! Together we sanded, fixed, painted and reupholstered each one of the chairs and then we sold them again, for more than we spent to buy them and fixing them up! We only made, like, 16 bucks, but it was our FIRST ATTEMPT, after all. Plus I think they turned out pretty great:

Four Black Chairs
The final product, at last!

 And you can rest assured that this will be a hobby we plan to continue. Three bar stools have already taken their place in our workshop/kitchen, just begging to be made pretty again. Look out for our next project!